Introduction
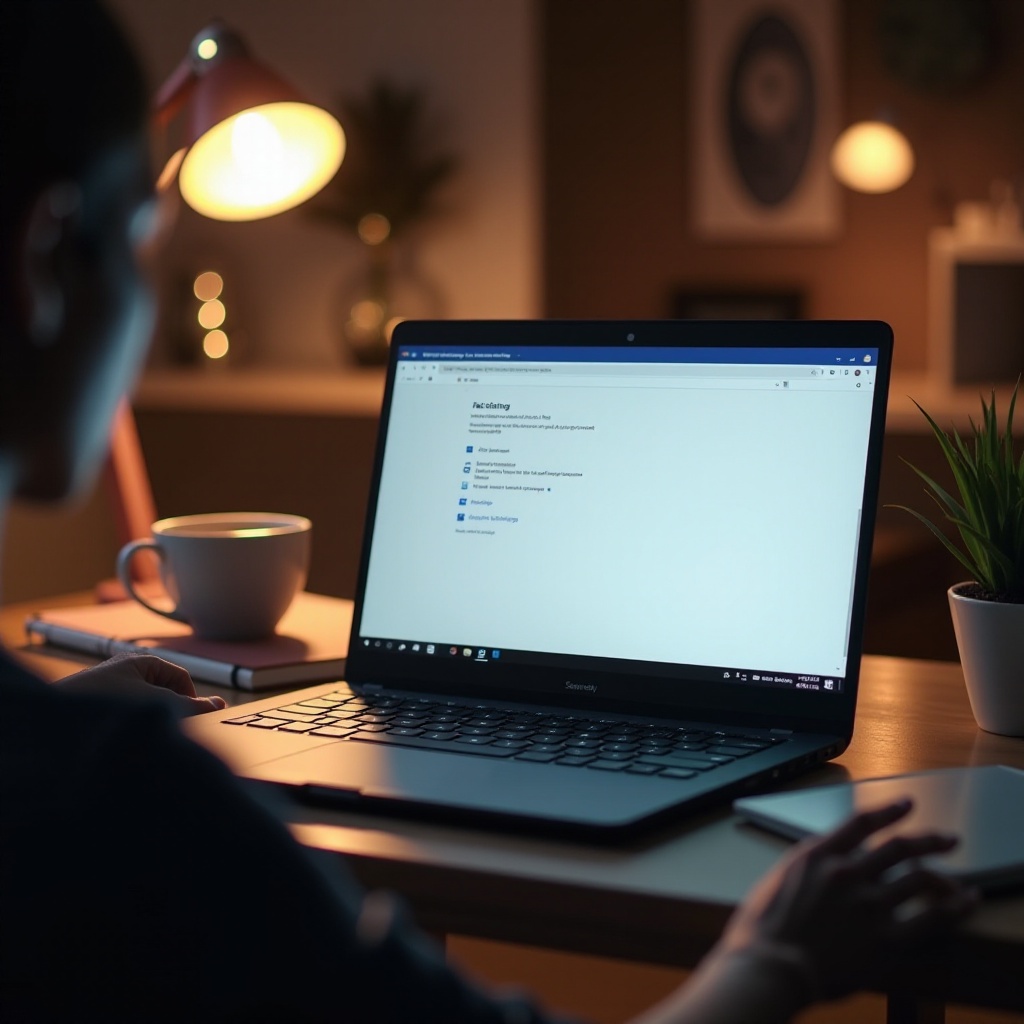
Understanding the display settings on your Chromebook is essential for an optimal viewing experience. Whether you’re adjusting brightness, tweaking resolution, or connecting to external displays, knowing how to navigate these settings can significantly enhance your device’s usability. This guide provides a comprehensive look at various ways to customize and troubleshoot your Chromebook’s display settings, ensuring the best visual performance at all times.
Adjusting Screen Brightness
One of the most straightforward yet critical adjustments you can make on your Chromebook is to the screen brightness. Proper brightness levels can reduce eye strain and help conserve battery life.
To adjust the brightness on your Chromebook:
1. Locate the brightness keys (usually marked with a sun icon) on the top row of your keyboard.
2. Press the ‘Brightness Up’ key to make the screen brighter or the ‘Brightness Down’ key to dim the screen.
Adjusting the brightness is beneficial for different lighting environments. For example, lower the brightness in dark rooms to make the screen easier on your eyes and lower the energy consumption, or increase the brightness level in bright outdoor settings for better visibility.
Changing Screen Resolution
Another significant setting that impacts your viewing experience is the screen resolution. Higher resolutions offer clearer, sharper images but can reduce performance on lower-end models.
To change the screen resolution on your Chromebook:
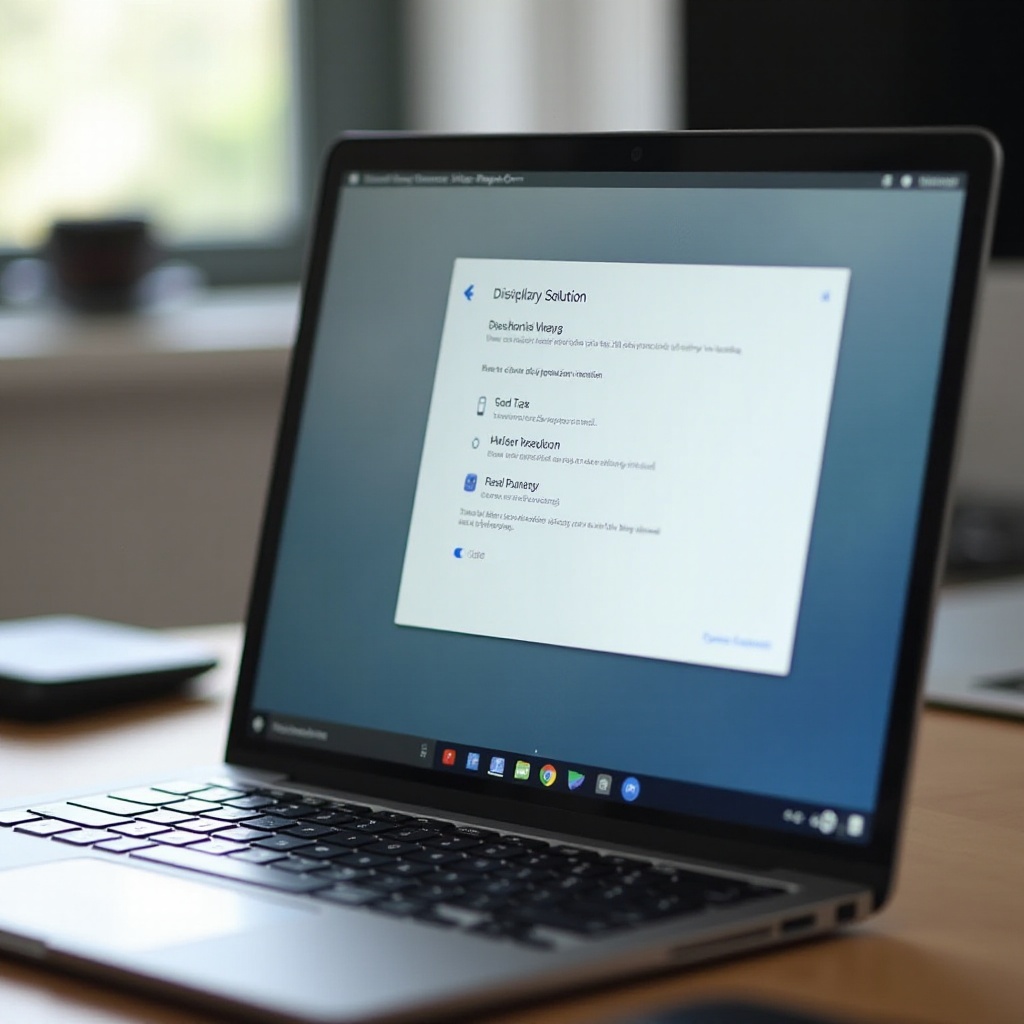
1. Click the status tray at the bottom right of the screen and select the Settings gear icon.
2. Navigate to the ‘Device’ section and click on ‘Displays’.
3. Under the ‘Resolution’ dropdown menu, choose the resolution that suits your needs.
Higher resolutions provide better image quality but might reduce the speed for multitasking. Adjusting the resolution can also make text and images larger or smaller, accommodating your preferences and enhancing legibility.
Using Night Light and Blue Light Filters
Reducing blue light exposure is crucial, especially if you use your Chromebook at night. Blue light filters can help reduce eye strain and improve sleep quality.
To enable Night Light:
1. Go to the Settings menu and navigate to the ‘Device’ section.
2. Click on ‘Displays’ and look for the ‘Night Light’ option.
3. Toggle the Night Light switch on and customize the color temperature and schedule according to your needs.
This feature adjusts the display colors to warmer hues during evening hours, making it easier on your eyes. It automatically turns on based on your schedule, ensuring your eyes are protected without constant manual adjustments.
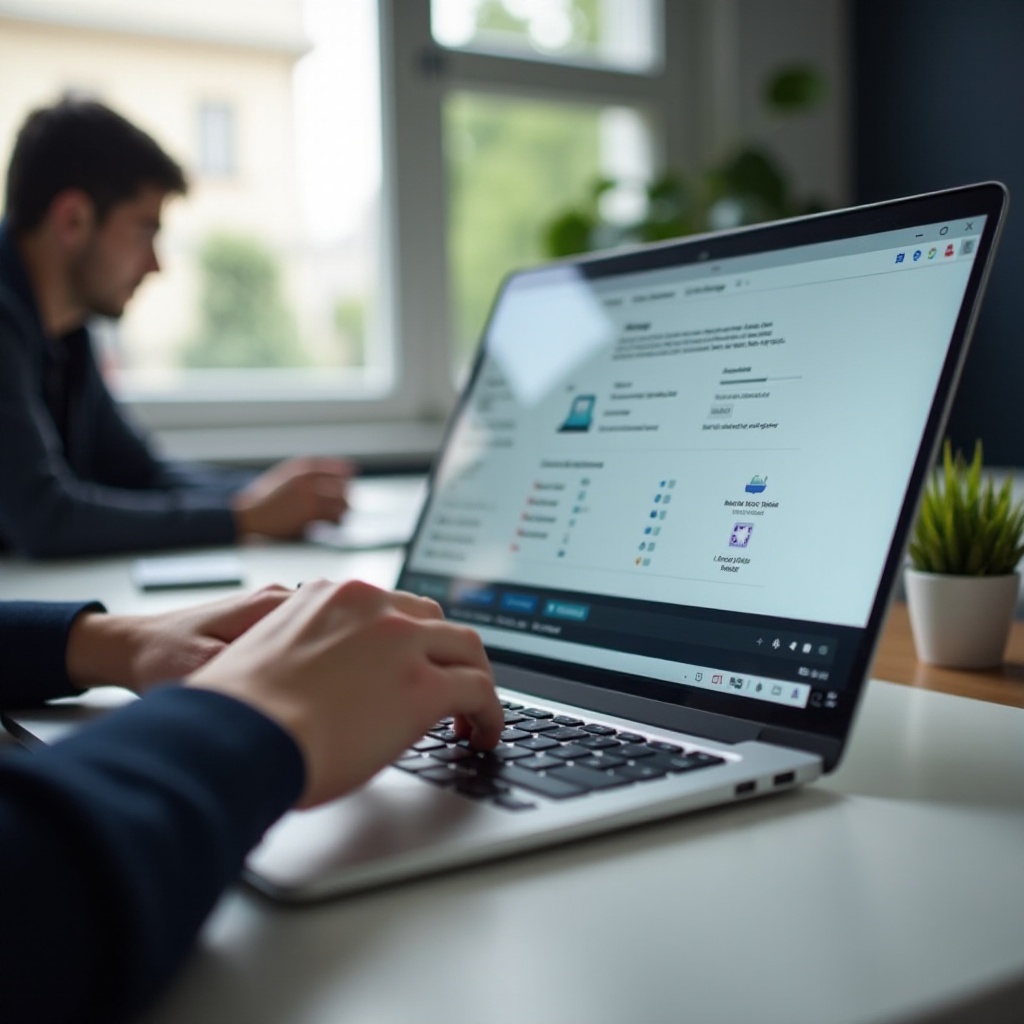
Setting Up and Configuring External Displays
Connecting an external display can enhance productivity by providing more screen real estate. Whether you want to mirror your screen or extend it, setting up another monitor is straightforward.
To connect and configure an external display:
1. Plug your external monitor into your Chromebook using the appropriate cable (HDMI, USB-C, or DisplayPort).
2. Once connected, open the Settings menu and navigate to ‘Device’, then ‘Displays’.
3. Here you can select the external display and choose to mirror your primary display or extend it.
4. Adjust the display settings, alignment, and orientations to suit your working needs.
Using external displays efficiently can transform your Chromebook into a powerful work or entertainment station, allowing you to multi-task like a pro.
Rotating the Screen Orientation
Rotating your screen can serve various purposes, like reading vertical documents or using apps designed for portrait orientation.
To rotate the screen on your Chromebook:
1. Press ‘Ctrl’ + ‘Shift’ + ‘Refresh’ together.
2. The screen will rotate 90 degrees with each press of this shortcut.
Adjust the screen orientation as required, making it more adaptable and flexible for different tasks and viewing preferences.
Customizing Scaling and Font Size
Customizing scaling and font size can significantly impact your reading comfort and overall user experience.
To change scaling and font size:
1. Open the Settings menu, then go to ‘Device’ and click on ‘Displays’.
2. In the Displays settings, you’ll see options for ‘Display Size’. Adjust the slider to your preferred scaling.
3. For font size, go to the ‘Appearance’, then find ‘Font size’ and use the slider to increase or decrease the text size.
Scaling makes interface elements larger or smaller, while font size customization helps with readability, ensuring content is easily legible without eye strain.
Troubleshooting Common Display Issues
If something isn’t quite right with your display settings, there are common troubleshooting steps you can follow.
- Restart your Chromebook: Simple but effective, a restart can fix many minor issues.
- Update Chrome OS: Ensure your Chromebook is running the latest version of Chrome OS.
- Disconnect and Reconnect External Display: Sometimes, reconnecting external displays can automatically resolve display detection issues.
- Restore Settings: Navigate to Settings > Advanced > Restore settings to their original defaults.
Following these steps can often resolve common display issues quickly.
Conclusion
Fine-tuning your Chromebook display settings can enhance your visual experience, boost productivity, and ensure comfort during extended use. Adjust brightness, resolution, Night Light, and more for an optimized setup.
Frequently Asked Questions
How do I reset my display settings on a Chromebook?
To reset your display settings, go to Settings > Advanced > Reset settings. This action will restore your display settings to default.
Can I connect multiple external monitors to my Chromebook?
Yes, if your Chromebook has the necessary ports and supports multiple displays, you can connect more than one external monitor. Use the steps mentioned in our section on external displays for guidance.
How can I improve the display quality on my Chromebook?
Improving display quality can be done by adjusting the resolution, brightness, and enabling Night Light settings. Also, ensure your Chromebook is updated to the latest version of Chrome OS.