Introduction
Mounting the Blink 4 camera can significantly enhance your home security system. Ensuring your Blink 4 camera is securely and correctly mounted is essential for capturing the best footage and maintaining the longevity of the device. This guide will walk you through each step, from unboxing the camera to setting it up and troubleshooting common issues. Whether you’re a tech-savvy individual or a beginner, following these steps will make the installation process straightforward and efficient.
Unboxing and Identifying Components
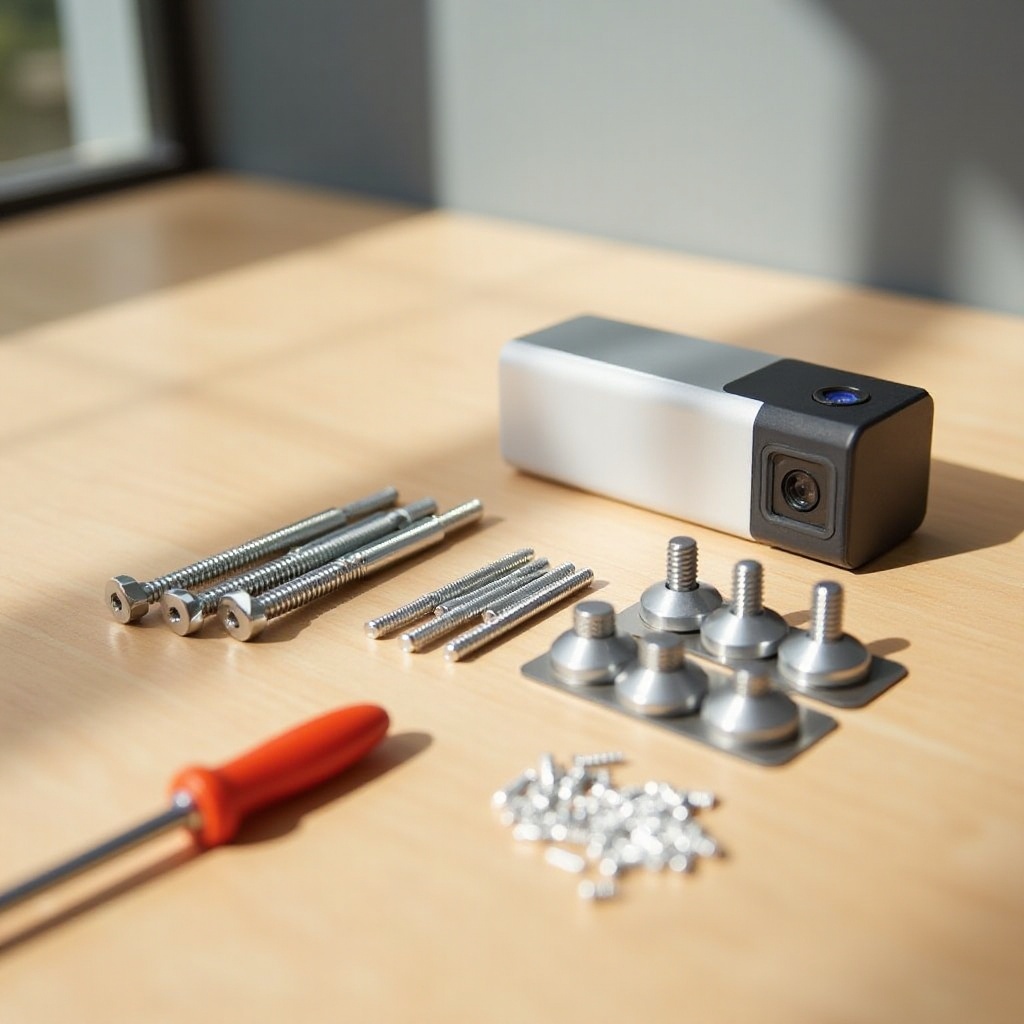
When you first receive your Blink 4 camera, carefully unbox it to ensure you have all the necessary components. Inside the box, you should find:
- The Blink 4 camera itself
- A mounting bracket
- Screws and wall anchors
- A power adapter and cable
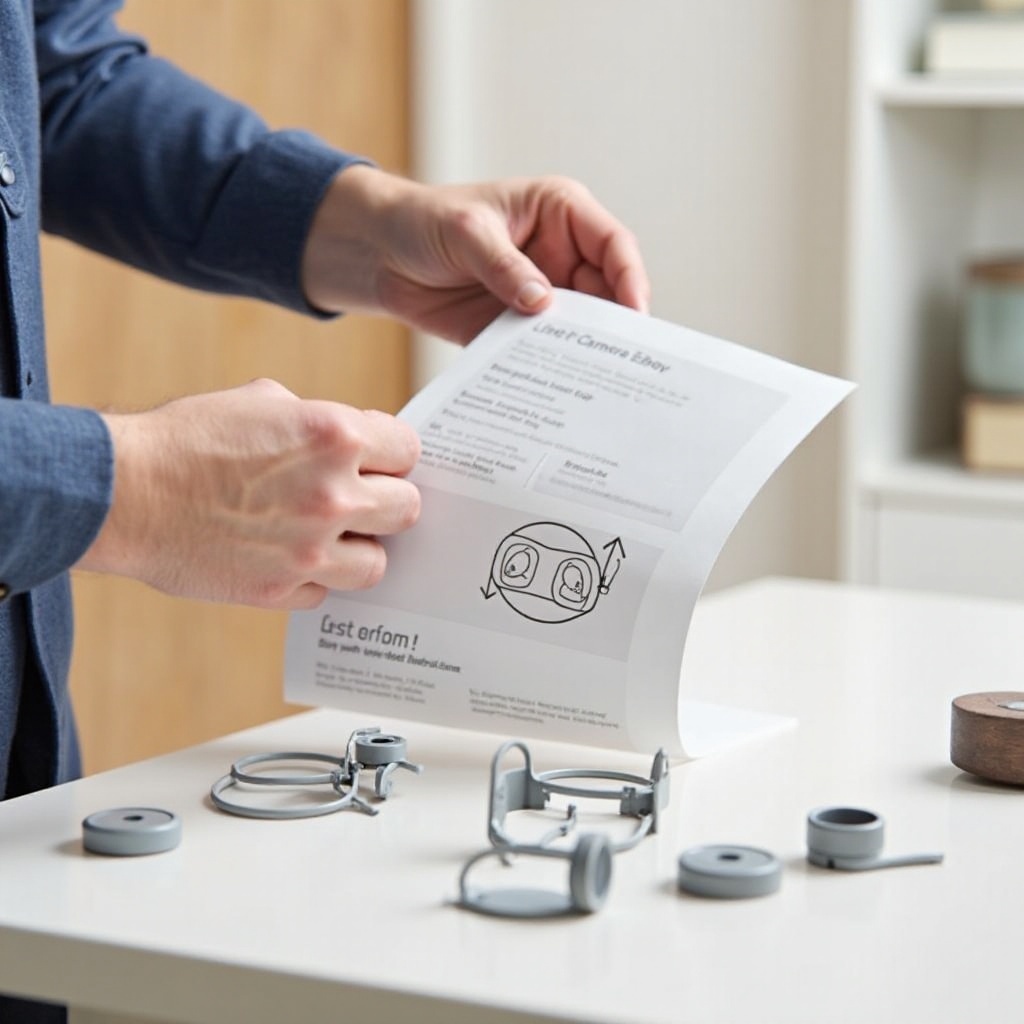
- Quick start guide and user manual
Make sure to lay out all the parts and double-check against the list provided in the manual. This preparatory step is crucial as missing components can hinder the installation process.
Choosing the Right Location
Selecting the optimal location for your Blink 4 camera ensures it captures the most relevant footage. Consider the following tips when choosing your camera location:
- Field of View: Place the camera where it can cover the most area. Entry points like front doors, back doors, and off-street windows are ideal.
- Height: Mount the camera at a height of 8-10 feet above the ground. This height is low enough to capture fine details but high enough to be out of easy reach.
- Lighting Conditions: Avoid pointing the camera directly into the sun or other bright lights. Poor lighting can affect the video quality.
- Wi-Fi Signal Strength: Ensure the camera is within range of your Wi-Fi network for a stable connection.
By choosing the right location, you set the stage for an effective installation. Having identified the perfect spot, let’s move on to gathering the necessary tools and preparing for the installation.
Tools and Preparation
Before you start mounting your Blink 4 camera, gather the tools you will need for the installation:
- A drill and appropriate drill bits
- A screwdriver
- A pencil for marking
- A level (optional, but recommended for a straight mount)
- A ladder (if mounting high)
Preparation involves making sure your tools are working and you know how to use them. If any part of the camera requires charging, do so while preparing your tools. Arrange everything within easy reach to avoid interruptions during the mounting process.
Step-by-Step Mounting Instructions
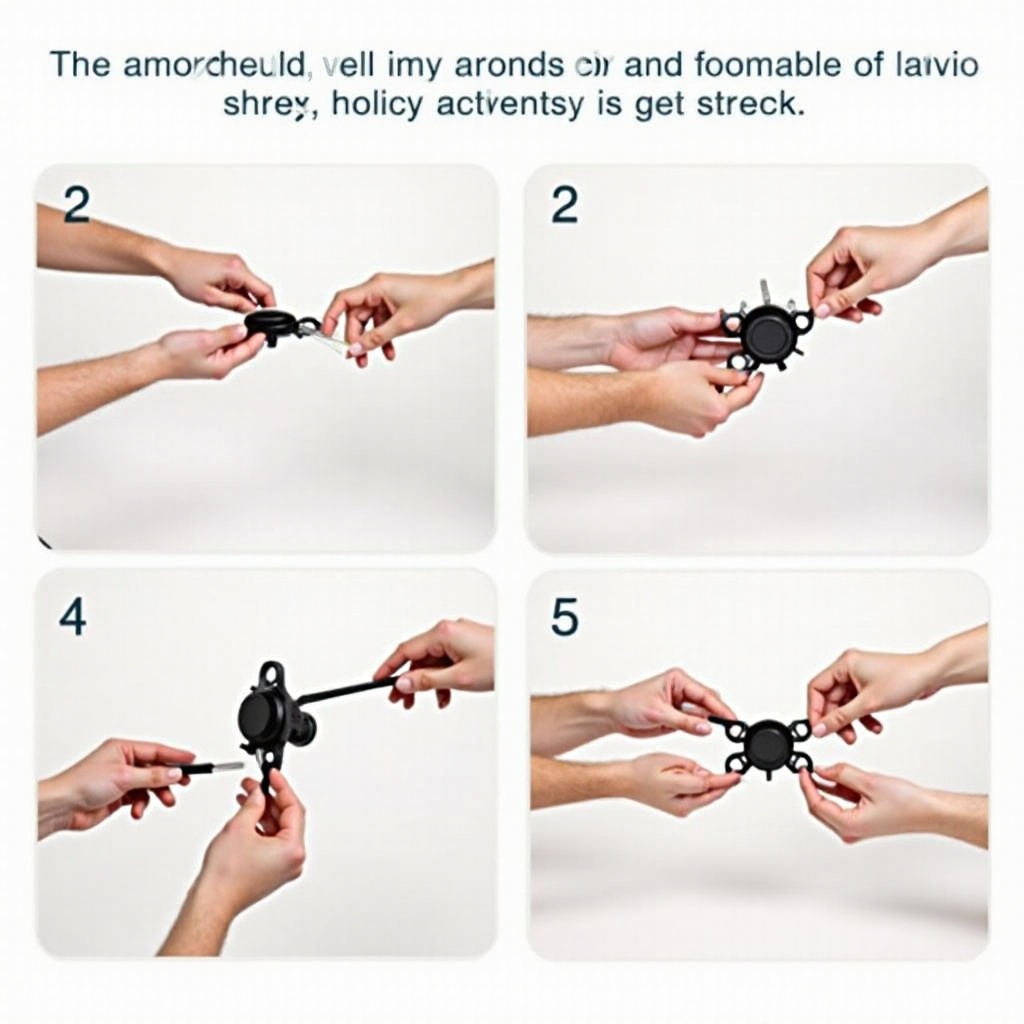
Now that you have all the tools ready and the location identified, let’s break down the mounting process into manageable steps:
- Mark the Holes:
- Hold the mounting bracket against the wall where you wish to install the camera.
-
Use a pencil to mark the position of the screw holes.
-
Drill the Holes:
- Carefully drill holes at the marked spots to prepare for the screws.
-
If you are installing the camera on a hard surface like brick, use wall anchors.
-
Attach the Mounting Bracket:
- Place the mounting bracket over the drilled holes.
-
Insert and tighten the screws to secure the bracket to the surface.
-
Attach the Camera:
- Align the back of the Blink 4 camera with the bracket.
-
Once aligned, click or screw the camera into place as per the manual instructions.
-
Adjust Camera Angle:
- Adjust the camera to your desired angle.
-
Make sure it is pointing towards the area you want to monitor.
-
Connecting Power:
- Plug the power adapter into an outlet.
- Connect the power cable to the camera.
With your Blink 4 camera mounted, the next step is to ensure it is properly connected to your network and test if everything is working as expected.
Connectivity and Testing
Follow these instructions to connect your Blink 4 camera to your network and test it:
- Download the Blink App:
-
Install the Blink app on your smartphone from the App Store or Google Play Store.
-
Create or Log Into Your Account:
-
Open the app and follow the prompts to create an account or log into your existing one.
-
Add Your Camera:
- In the app, select the option to add a new device.
-
Follow the on-screen instructions to connect your Blink 4 camera to your Wi-Fi network.
-
Test The Camera:
- Once connected, check the live view on the app to ensure the camera is capturing the desired area.
- Test the camera’s features like motion detection and video quality.
Testing during setup helps identify any issues immediately. If problems arise, you can quickly address them before considering the installation complete.
Troubleshooting Common Issues
Even with careful planning, issues can sometimes occur. Here are some common problems and their solutions:
- Weak Wi-Fi Signal:
-
Move your Wi-Fi router closer or use a Wi-Fi extender.
-
Camera Not Connecting:
-
Ensure you are using the correct network credentials and that the network is 2.4 GHz (Blink cameras do not support 5 GHz networks).
-
Poor Video Quality:
- Adjust the camera angle to ensure proper lighting and reduce glare.
-
Increase the camera’s resolution settings in the app.
-
Camera Disconnection:
- Check for firmware updates in the app for your camera and router.
Addressing these issues can enhance the camera’s performance. With the common issues resolved, you can now enjoy the full benefits of your new security setup.
Conclusion
Mounting your Blink 4 camera is a straightforward process when you break it down into steps and follow the outlined instructions. From unboxing to troubleshooting, careful attention to each stage ensures a successful installation. Your new security setup will provide peace of mind and enhance your home security. Enjoy your Blink 4 camera’s excellent surveillance capabilities and user-friendly features.
Frequently Asked Questions
What is the ideal height to mount the Blink 4 camera?
The ideal height to mount the Blink 4 camera is between 8-10 feet. This height allows the camera to capture detailed footage while being out of easy reach.
Can the Blink 4 camera be mounted outdoors?
Yes, the Blink 4 camera can be mounted outdoors. It is designed to withstand various weather conditions, but ensure it is sheltered from extreme conditions and mounted securely.
How do I ensure my camera remains secure after mounting?
To ensure your camera remains secure: – Use the proper screws and anchors for your wall type. – Periodically check the mount and tighten any loose screws. – Consider using theft-deterrent camera covers.