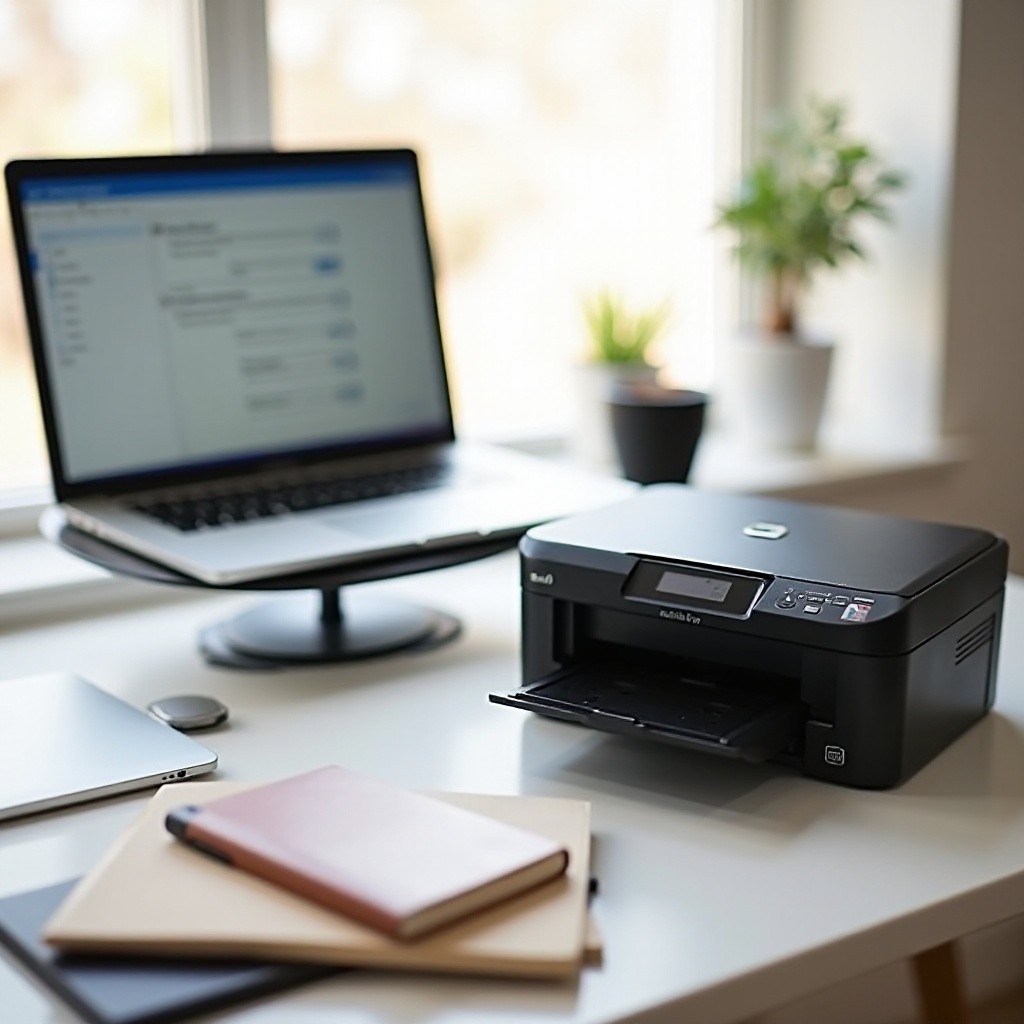
Introduction
So, you’ve got a Canon printer and you’re ready to connect it to your laptop. Whether you’re setting up a new printer for the first time or reconnecting an old one, this guide will help you through the process. Being able to print directly from your laptop can significantly increase productivity, whether you’re working on a business report or a school assignment. This post will walk you through the necessary steps to connect your Canon printer to both Windows and Mac laptops, ensuring a smooth and efficient setup process. Let’s jump right in.
Pre-Connection Preparations
Before we dive into the connection steps for both Windows and Mac laptops, there are a few things you need to prepare.
- Check Your Printer’s Compatibility: Ensuring that your Canon printer is compatible with your laptop is crucial. Refer to the user manual and double-check the model specifics.
- Gather Necessary Cables: For a wired connection, you’ll need a USB cable. For wireless connectivity, make sure your network name (SSID) and password are available.
- Update Your Laptop’s Software: Keep your laptop’s operating system up to date to prevent compatibility issues.
- Printer Driver: Make sure you have the latest printer driver specific to your Canon printer model. Visit the official Canon website for the driver download if needed.
By following these preparations, you will make the connection process straightforward and trouble-free.
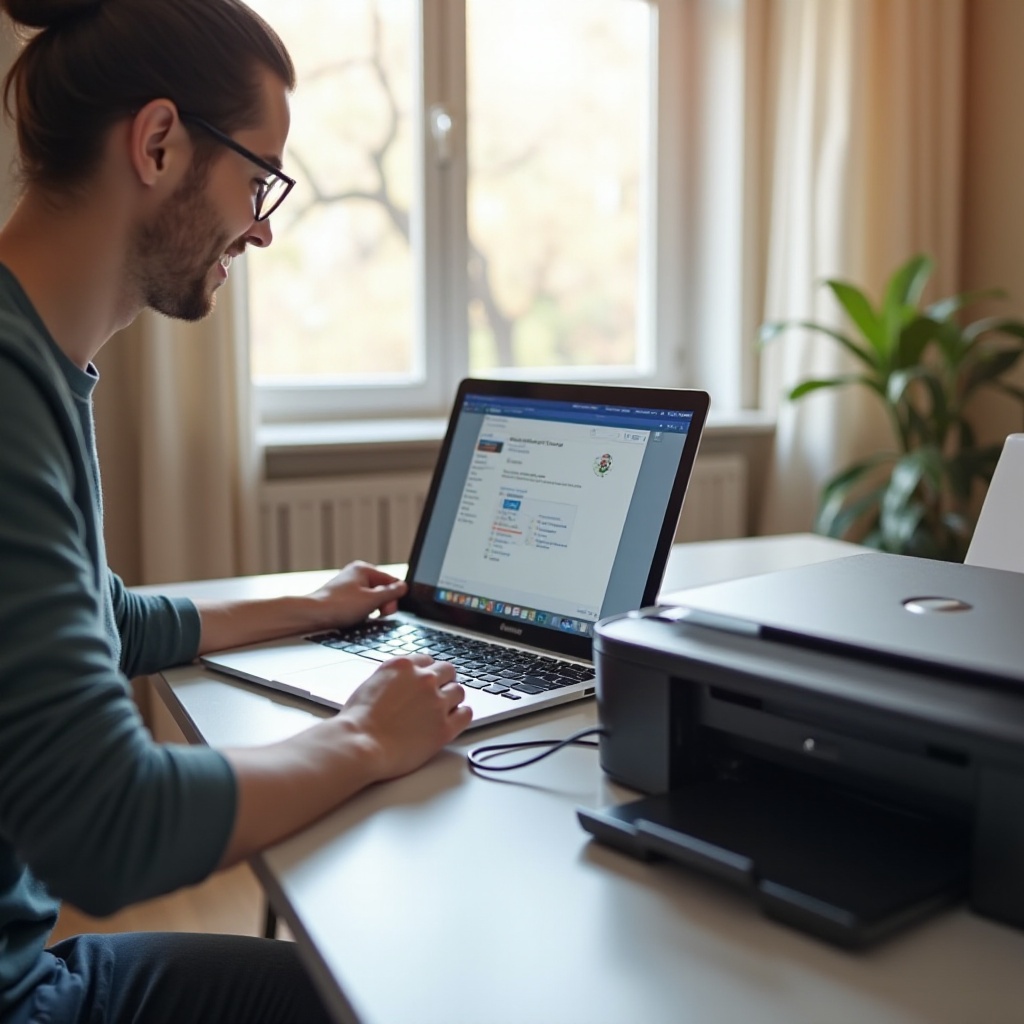
Connecting Canon Printer to a Windows Laptop
Connecting your Canon printer to a Windows laptop can be accomplished in two main ways: using a wired connection or through a wireless setup.
Wired Connection
- Turn on the Printer: Make sure your Canon printer is turned on and functioning properly.
- Connect the USB Cable: Plug the USB cable into the printer and then into your laptop. The connection should initiate a brief installation process.
- Automatic Installation: Once connected, Windows may automatically recognize and install the printer driver. If this happens, follow the on-screen instructions.
- Manual Installation: If automatic installation does not occur:
- Go to Settings > Devices > Printers & Scanners.
- Click Add a printer or scanner and select your printer from the list.
- Follow the on-screen instructions to complete the connection.
Wireless Connection
- Prepare Your Printer: Ensure your printer is connected to the same Wi-Fi network as your laptop. Refer to your printer’s manual if you’re unsure how to enable Wi-Fi.
- Go to Settings: On your Windows laptop, navigate to Settings > Devices > Printers & Scanners.
- Add a Printer: Click on Add a printer or scanner, and wait for Windows to detect your Canon printer.
- Select Your Printer: When your printer appears, select it and follow any additional on-screen instructions to complete the installation.
By using either of these methods, your Canon printer should now be connected to your Windows laptop and ready for use.
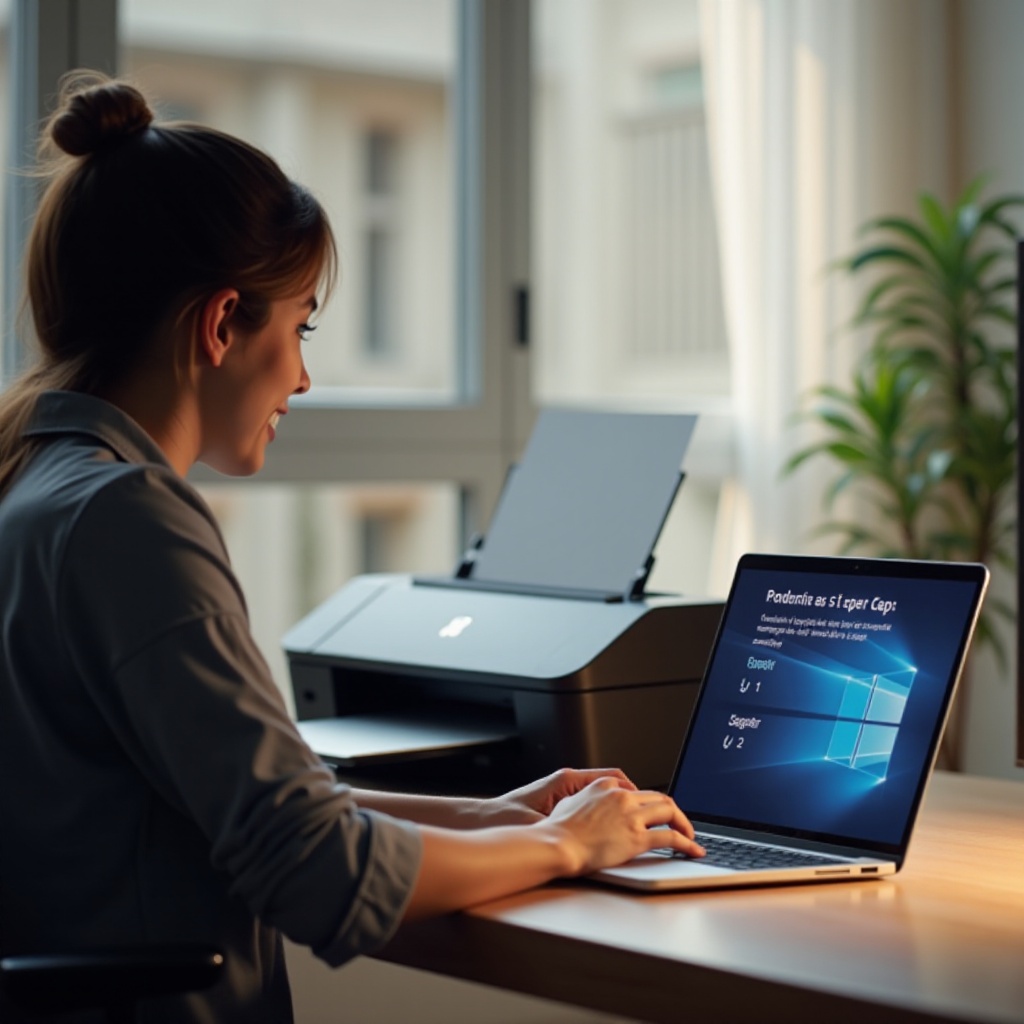
Connecting Canon Printer to a Mac Laptop
Connecting your Canon printer to a Mac laptop is quite similar to the process on a Windows laptop. Again, we will look at both wired and wireless connections.
Wired Connection
- Turn on the Printer: Power up your Canon printer and make sure it is ready.
- USB Connection: Insert the USB cable into the printer and then into your Mac laptop.
- System Preferences: Open System Preferences on your Mac and select Printers & Scanners.
- Add Printer: Click the ‘+’ button to add a printer. Your Canon printer should appear in the list of available printers.
- Follow Prompts: Select your Canon printer and follow any on-screen instructions to complete the installation.
Wireless Connection
- Wi-Fi Configuration: Ensure your printer’s Wi-Fi feature is activated and connected to your network.
- System Preferences: Go to System Preferences on your Mac and select Printers & Scanners.
- Add Printer: Click the ‘+’ button to add a new printer. Your Mac will begin searching for available printers.
- Select Your Printer: When your Canon printer appears, select it and continue through the setup prompts.
- Complete Setup: Follow any additional instructions to finish the installation.
With these steps, your Canon printer should now be connected wirelessly to your Mac laptop.
Troubleshooting Common Issues
Even though the connection steps are straightforward, you might encounter some common issues. Here’s how to troubleshoot them:
- Printer Not Recognized: Ensure that the printer is turned on and properly connected to the same Wi-Fi network as your laptop. Restart both your laptop and printer to reinitiate the connection process.
- Driver Issues: If your printer isn’t responding, you may need to update or reinstall the driver. Visit the Canon support website and download the latest driver for your printer model.
- Connection Drops: If the printer keeps disconnecting, check your internet connection stability. A weak or unstable Wi-Fi network can lead to connection issues.
- Error Messages: Consult the printer’s user manual or the Canon website for specific error codes and their solutions.
These tips should help you to swiftly resolve common connection problems.
Conclusion
Connecting your Canon printer to your laptop shouldn’t be a daunting task. By following the step-by-step instructions provided above, you should easily connect your printer to either a Windows or Mac laptop, whether via a wired or wireless connection. Happy printing!
Frequently Asked Questions
Why is my Canon printer not connecting to my laptop?
This issue could be due to several factors including outdated printer drivers, connectivity issues with your Wi-Fi network, or the printer not being properly turned on. Try updating drivers, checking network connections, and ensuring the printer is powered up.
How do I update my Canon printer drivers?
You can update your Canon printer drivers by visiting the official Canon website, downloading the latest driver for your printer model, and following the installation instructions.
Can I connect multiple laptops to my Canon printer?
Yes, you can connect multiple laptops to your Canon printer, especially if you’re using a wireless connection. Ensure each laptop is connected to the same Wi-Fi network and follow the same connection steps listed above for Windows or Mac.