Introduction
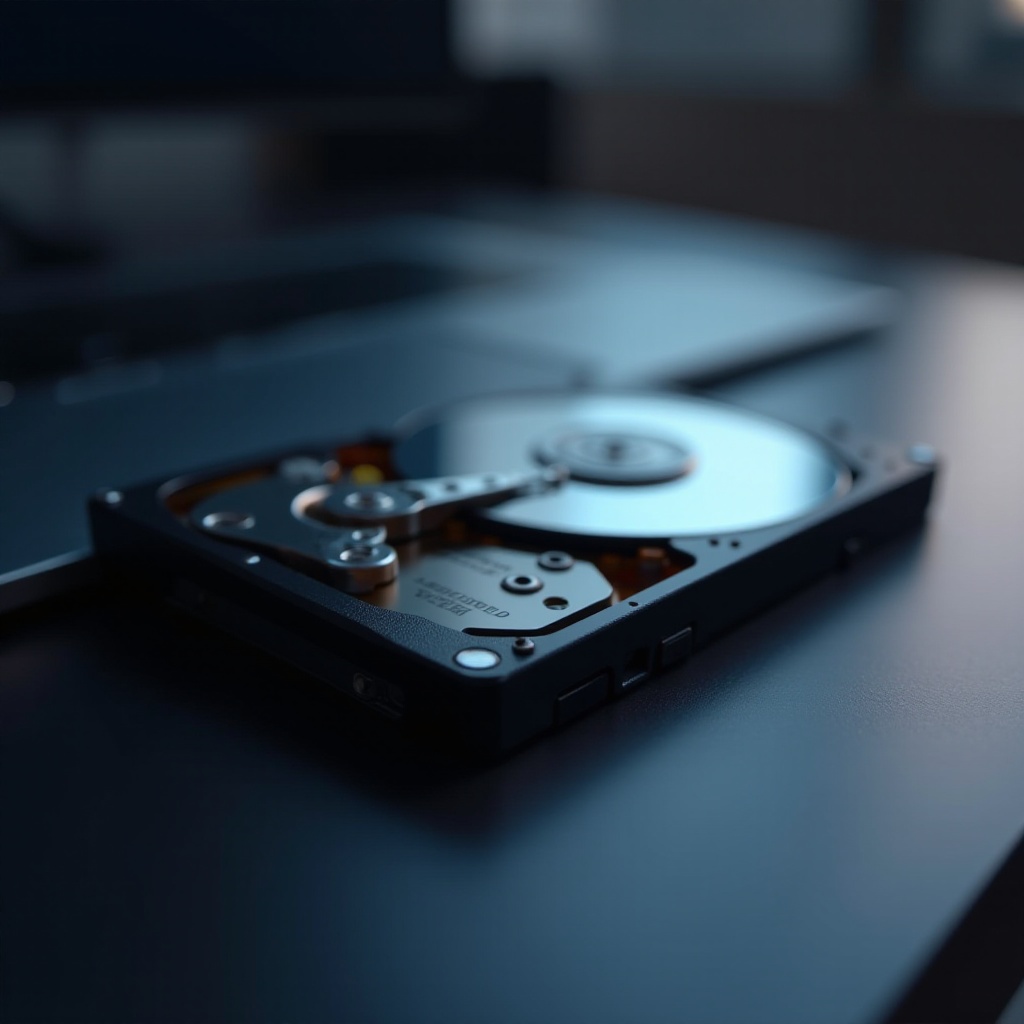
In the modern computing landscape, upgrading from a HDD to a SSD can significantly enhance your system’s performance, transforming sluggish operations into swift and efficient tasks. Many users opt for this upgrade due to the various advantages SSDs offer over traditional HDDs, such as improved speed, increased durability, and lower energy consumption. This comprehensive guide aims to walk you through the essential steps required to clone a HDD to an SSD on Windows 10, ensuring you benefit from a seamless transition. By following this guide, complete with troubleshooting tips, you’ll be equipped to achieve a successful hard drive upgrade.

Understanding Disk Cloning
Before diving into the cloning process, it’s crucial to understand what disk cloning entails. Disk cloning is the act of creating an exact replica of your existing storage device’s data onto another. This process includes all your operating system files, applications, and personal data, ensuring the new SSD functions identically to your old HDD. This understanding is paramount as it lays the foundation for transferring your system’s entire setup effortlessly. A proper grasp of disk cloning not only helps minimize risks but also ensures the optimal performance of both the source and destination drives. By comprehending this process, you can confidently proceed with upgrading your storage.
Preparing Your System for Cloning
Preparation is key to a successful cloning operation. Start by ensuring that your SSD has sufficient capacity to accommodate all the data stored on your HDD. Conduct a comprehensive backup of your critical data, serving as a safeguard against any unforeseen issues during cloning. Next, declutter your HDD by uninstalling unused applications and deleting unnecessary files—this not only shortens the time taken to clone but also protects your fresh start. Finally, update your Windows 10 to the latest version to ensure everything runs smoothly. With these preparations, you’ll be set for a streamlined transition from a HDD to an SSD.
Choosing the Right Cloning Software
Selecting appropriate cloning software is a crucial step in the cloning process. A variety of options are available, each tailored with unique features. Popular choices include Macrium Reflect, EaseUS Todo Backup, and Acronis True Image. Prioritize software with a user-friendly interface and robust support functionalities. It’s important to select a tool that supports Windows 10, recognizing both HDD and SSD formats. Deciding between free and paid versions often depends on the features you need such as incremental backups or recovery tools. The right software ensures a stress-free and effective cloning process while maintaining your data’s integrity.

Step-by-Step Cloning Process
Once preparations are complete, it’s time to proceed with the actual cloning. The process involves several steps:
Installing the Software
- Download and install your chosen cloning software from a trustworthy source.
- Follow the installation prompts and set up a software account if necessary.
- Upon installation completion, launch the program to prepare for cloning.
Connecting the SSD
- If you’re using a desktop, install the SSD directly inside; for laptops, connect it via a USB-to-SATA adapter.
- Ensure your SSD is visible in the Disk Manager, confirming a proper connection.
Initiating the Cloning Process
- Open your cloning software and select the ‘Clone’ functionality.
- Designate your existing HDD as the source disk and the new SSD as the target disk.
- Initiate the cloning process, observing the progress through the software’s interface. The duration may vary based on data size and system capability.
Following these steps will facilitate the successful cloning of your HDD to the SSD, enhancing your system’s overall functionality and performance.
Post-Cloning Setup
After a successful cloning operation, setting up your SSD correctly is crucial to enjoying its full benefits:
Setting SSD as the Boot Drive
- During the computer’s boot sequence, access the BIOS/UEFI menu by pressing keys like F2, F10, or DEL.
- Modify the boot order to prioritize the SSD as the primary boot disk.
Optimizing SSD Performance
- Enable TRIM functionality on your SSD to maintain its efficiency and extend its lifespan.
- Adjust your Windows settings for optimal SSD performance—disable disk defragmentation and opt for high-performance power schemes.
These post-cloning adjustments ensure your SSD not only functions correctly but also delivers exceptional performance and longevity.

Troubleshooting Common Cloning Issues
Occasionally, the cloning process may encounter hiccups. Common issues include the SSD not being recognized or data not cloning correctly:
- Ensure the SSD is installed correctly by checking connections and BIOS settings.
- Follow software prompts to manage partition sizes and ensure proper formatting.
- If the clone fails, reconsider your software choice, ensure all drivers are current, and attempt the process again with revised settings.
Troubleshooting effectively ensures a smooth transition and quick resolution of any challenges you might face.
Conclusion
Cloning a HDD to an SSD on Windows 10 is a manageable task when approached systematically. With the right preparation, tools, and troubleshooting techniques, you can transition from your old hard drive to a modern SSD with ease. This upgrade results in seamless performance, boosted efficiency, and a noticeable improvement in your computing experience, making it a worthwhile venture for any user.
Frequently Asked Questions
What should I do if my SSD isn’t recognized by the system?
Check your connections and ensure the SSD is properly installed. Verify it’s detected in your BIOS/UEFI settings and update necessary drivers.
Can I clone a larger HDD to a smaller SSD?
Yes, as long as the SSD’s capacity exceeds your HDD’s used space. Ensure you clean unnecessary data from your HDD before cloning.
What are the benefits of using an SSD over an HDD?
SSDs offer faster read and write speeds, improved energy efficiency, greater durability, and quieter operation, enhancing overall system performance.

